Posted this on Forrest's site a while ago....but saw a post on here about it and remembered I tried to make a pictorial about it.
http://londonlureco.proboards.com/index.cgi?board=traptune&action=display&thread=121Just how I did it at the time-----so doesn't mean this is the best or only way to do it. Just what I did as I fixed up some of these traps for a buddy.
(ORIGINAL POST)
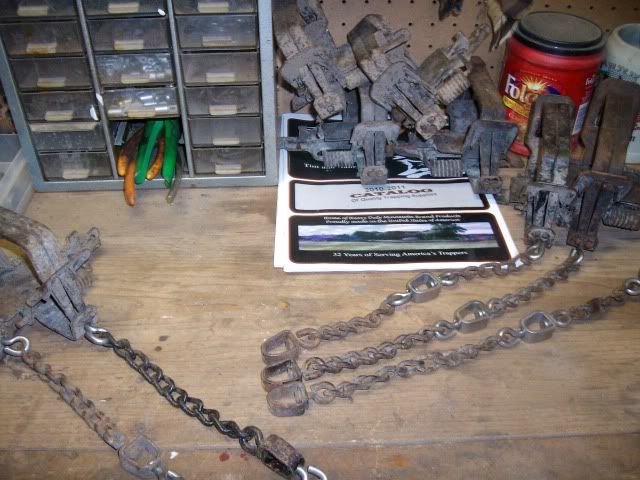
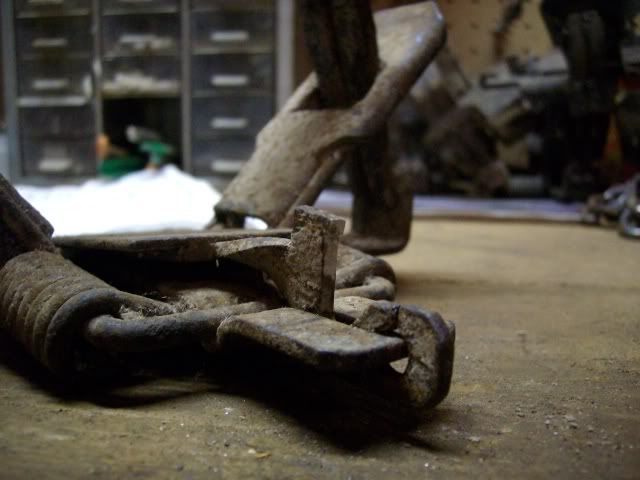
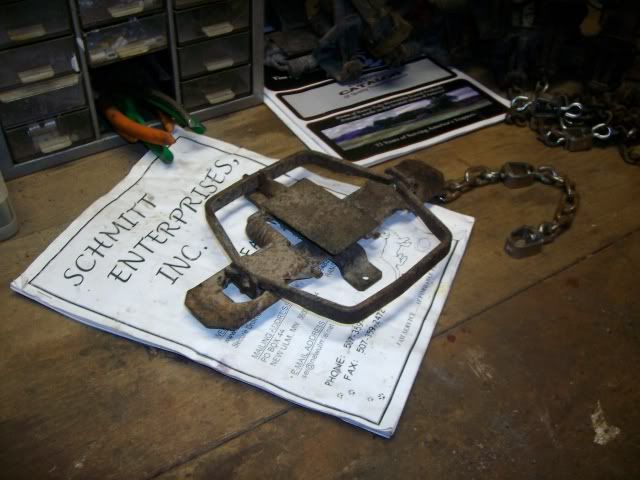
Been picking away at some more Mongomery Step-in #3's...very similar to Montana dogless traps.
Actually, I'm no expert on these, or anything. So there may be better, and more correct ways to do the following:
Typical. Can only imagine what his dirt pattern looked like with this trap...I prefer my pan level or below the loose jaw.
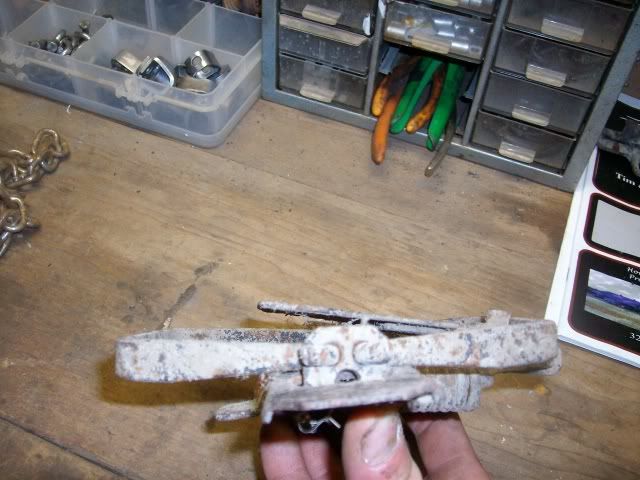
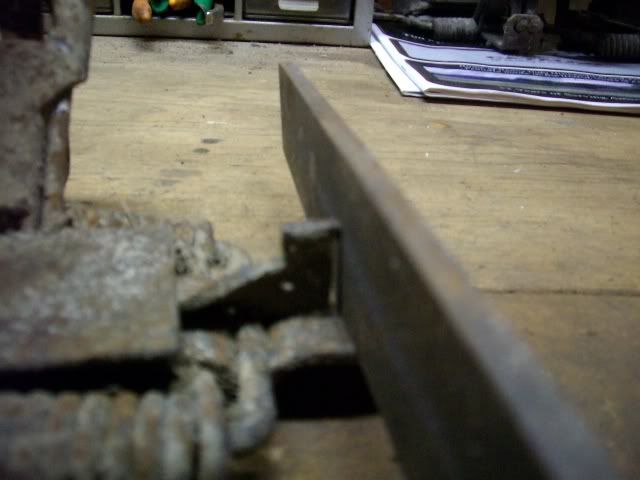
I start by taking a file to the pan. Sometimes just a matter of squaring things up...but most of these are well worn. So you may end up actually cutting a new engagement into the old, round stump.
Try to hit all the vertical and horizontal faces. I'm not smart enough to explain how much of an "ear" should be left for hooking onto the jaw. Almost have to do one yourself, set the trap, and watch the pan travel to get a feel for it. Obviously, the longer the ear, the more the pan height and pan creep will be affected.
There is no point in adjusting traps if, in the end, the pan falls 1/4" before the trap goes off. Should be a nice, instant, snap. Sorry for the blurry pics.
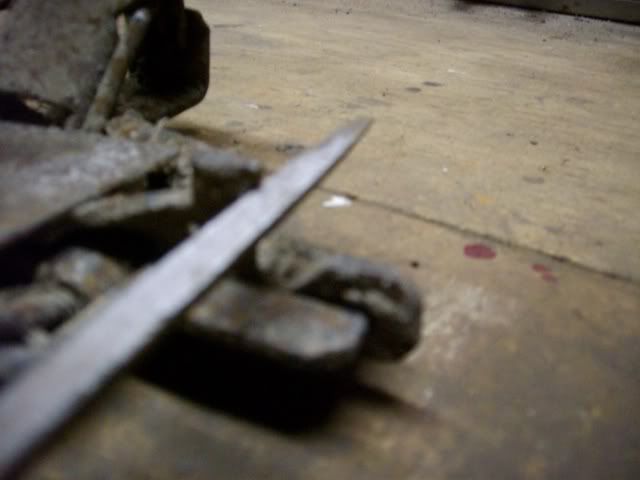
In the spirit of making things more complicated than should be, my small file is more aggressive than the large one. But I use the large one to buff up the small cuts, and make them nice and square.
Set the trap and fire a few times, making sure there's a nice crisp snap with minimal pan movement. Then depress the levers and flip the pan up and out.
Leveling the pans can be a little tricky at first. Simply moving the dog post doesn't usually cut it. Actually it seems to cause more problems. So the "leveling" is corrected through the twist on the pan shank...and it's relation to the "ear" that was just filed. The vice is a real bonus here. Bending the pan below the connection area works on a remake in the woods...but it's not good enough in the shop. Make sure the "meat" of the pan is squarely in the vice.
I have seen others put a rod under the pan itself, and then bend accordingly. But for this one...
A tap with a hammer...
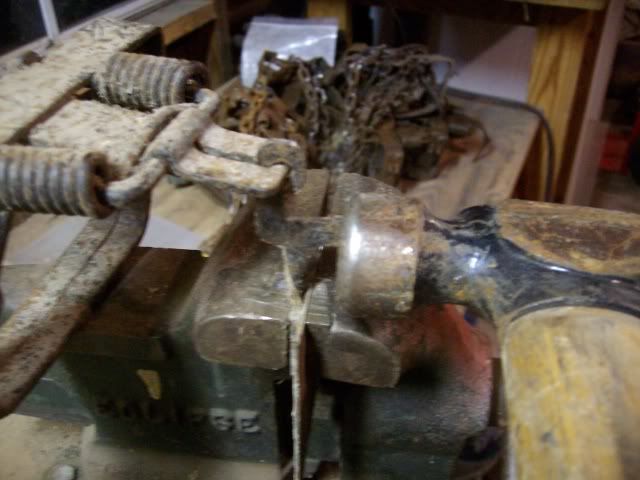
And a twist, if needed...

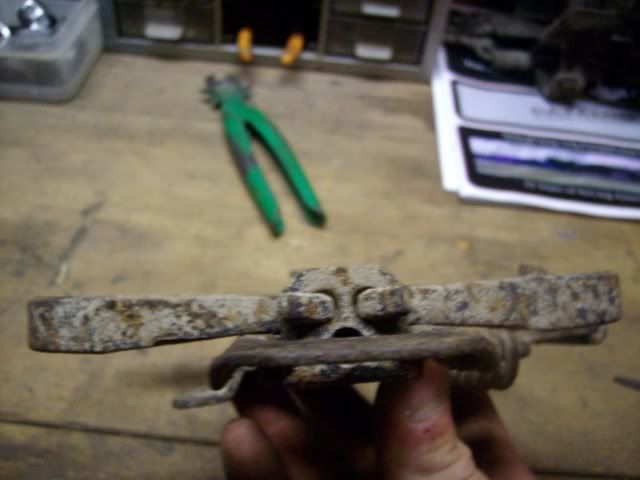
Bending the levers on any trap makes a big difference. But it really saves a lot of headache on these.
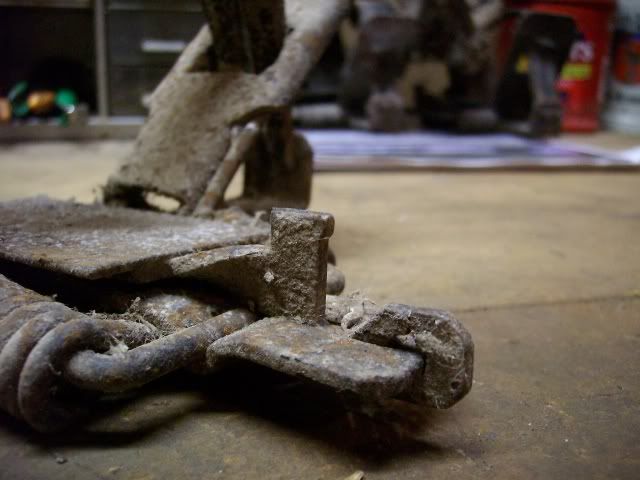
Using a wrench to bend the levers on the loose jaw side is a MAJOR HELP on stubborn dogless traps. Don't try to cheat too much, but this can help put the pan that extra little bit below the jaws.
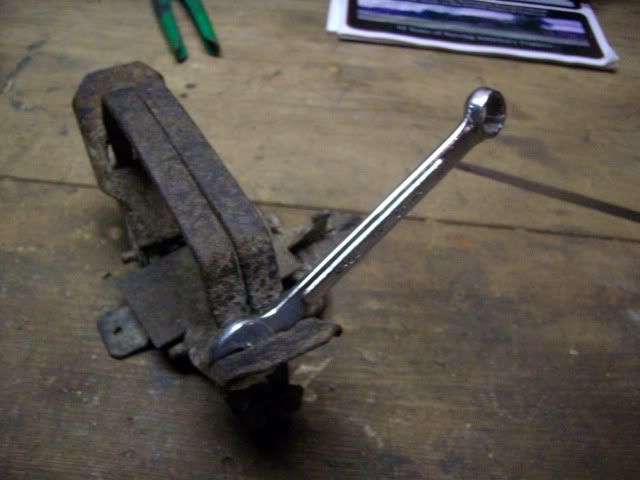
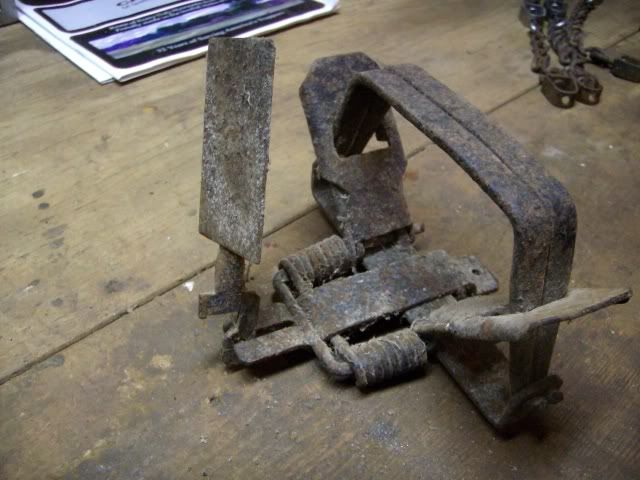
MUCH BETTER...
Add some American #3 machine chain and a couple crunch-proofs. If nothing else...replace the original rivet in the trap frame.
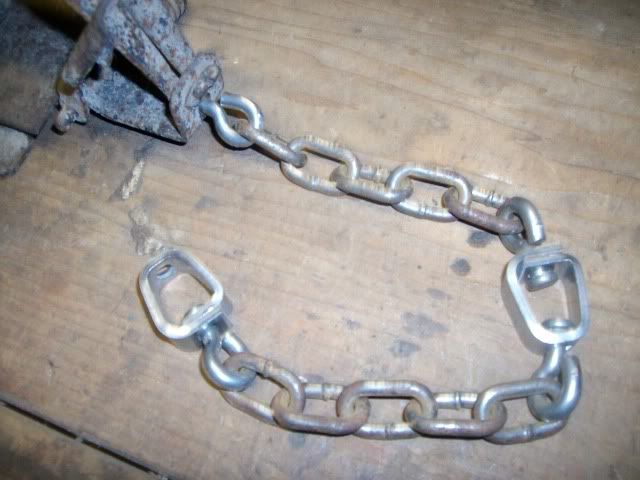
And now you've got a happy, properly adjusted dogless trap.
(UPDATE)
AND....here are the traps in action. Late November red fox in an old Monty...